How to Renovate an Overgrown, Neglected Grape Vine
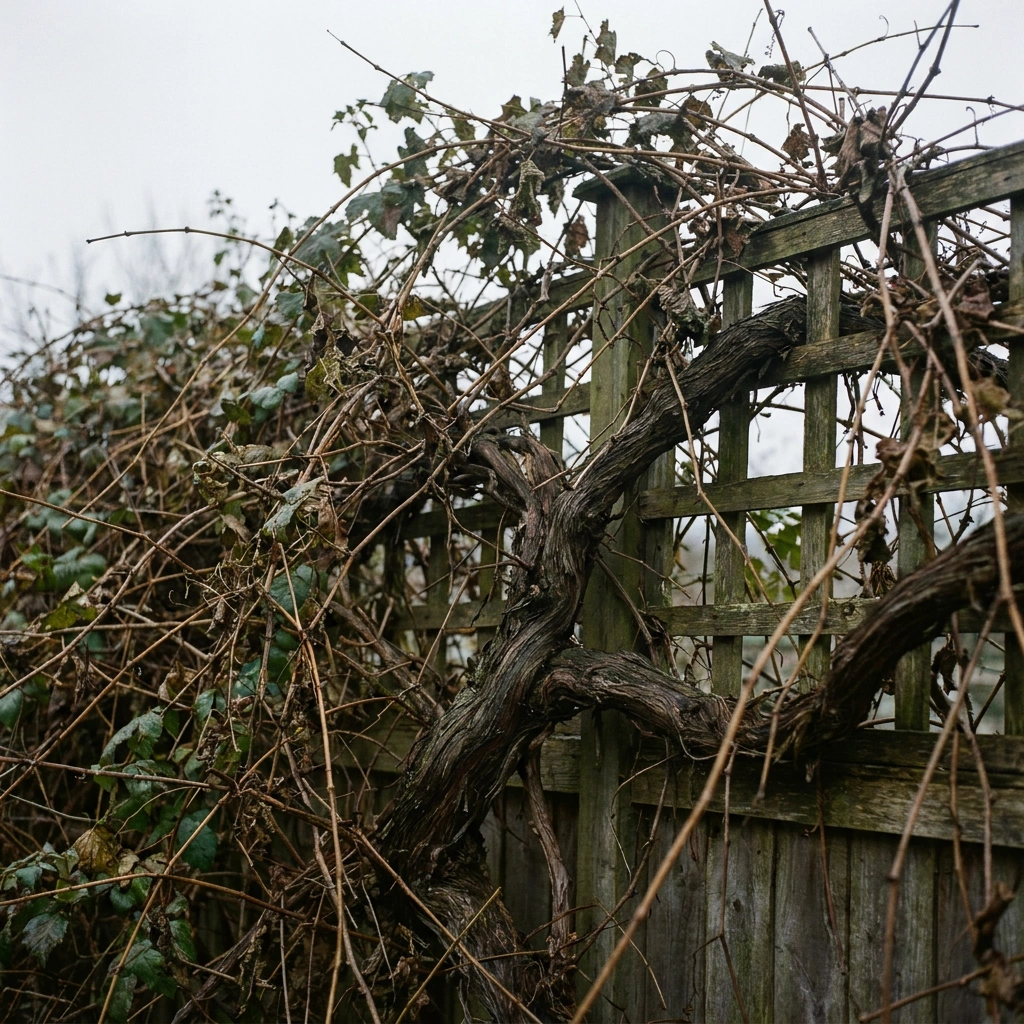
If you’ve got a grape vine that hasn’t seen pruning shears in years – or one you inherited with your property – don’t dig it out yet. First check whether the trunk is still sound. If it is, you can almost always bring even a badly neglected vine back into production through a staged renovation over one to three years. The key word is staged: strip everything off a stressed vine at once and you’ll set it back further. Work gradually, and the established root system will do most of the recovery work for you.
Why a Neglected Vine Stops Fruiting
Understanding what went wrong is the first step. Grape vines fruit on shoots that grow from one-year-old wood (called canes). When a vine goes unpruned for several seasons, it throws out new growth from those canes – but then those canes age into two-year, three-year, four-year-old wood, which produces fewer and fewer buds capable of fruiting. Eventually the vine becomes a tangle of old, thick, unproductive wood with any viable fruiting wood pushed out to the very tips, far from the trellis and impossible to manage.
This is exactly what the University of Minnesota Extension describes when they talk about the role of annual grape pruning: keeping the vine in a cycle where there’s always fresh one-year wood in the right place on the trellis. A neglected vine has broken that cycle. The good news is the root system is usually still healthy – and that’s your real asset for renovation.
Step 1: Assess the Trunk Before You Touch Anything
Before you cut a single cane, walk up to the vine and look at the trunk. This assessment determines everything.
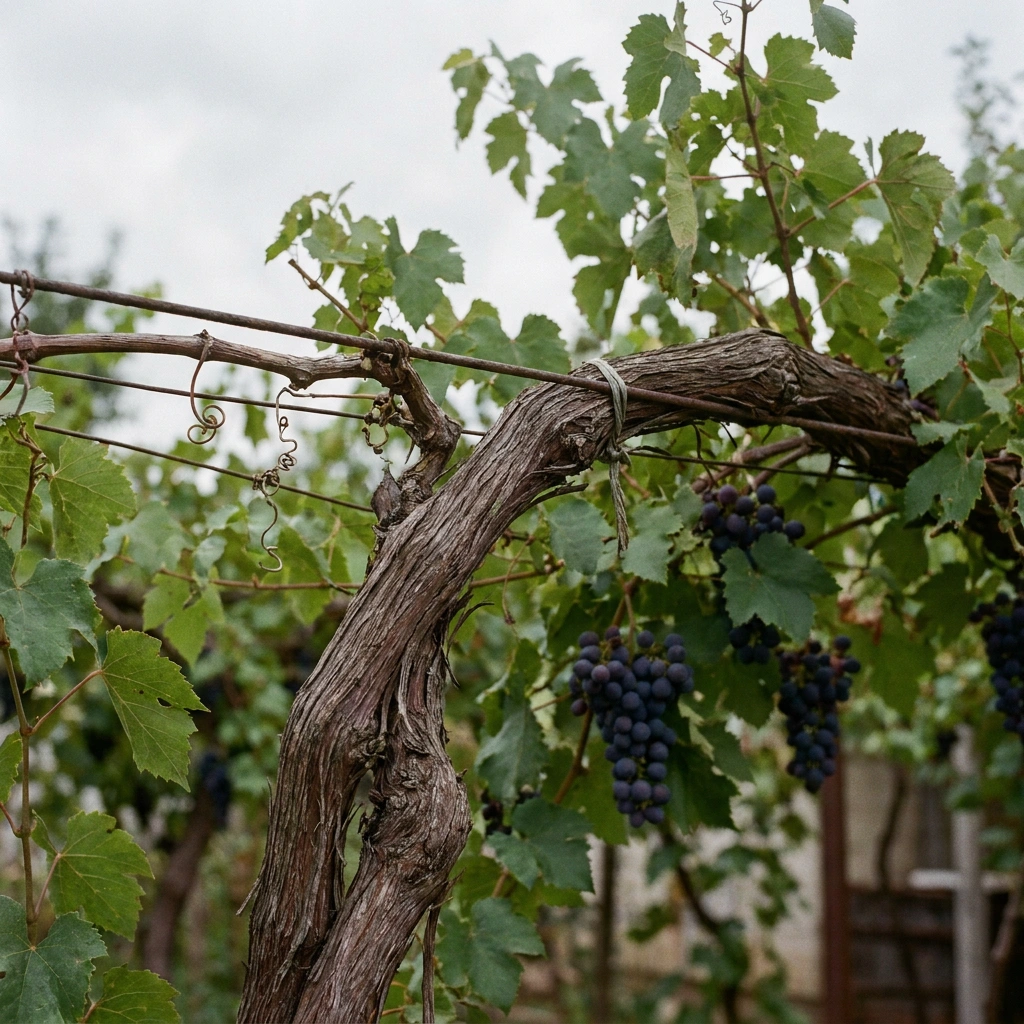
A sound trunk – one that’s solid when you press it, with bark that’s intact or peeling normally, no deep cracks running along the grain, and no major cankers or black rot lesions – means you have the foundation to renovate from. Even if the upper structure is a chaos of old wood, a sound trunk can support full retraining.
A compromised trunk is a different story. Look for:
- Deep longitudinal cracks (often from severe winter injury in cold climates)
- Soft, punky wood that compresses when you push it
- Large cankers or crown gall (rough, warty growths at the base or graft union)
- A trunk that looks alive above ground but produces no growth in spring
If the trunk is badly damaged, renovation from that trunk won’t hold long-term. You’ll need to consider starting a new trunk from a basal shoot – more on that below.
Also scratch the bark with your thumbnail on a dormant vine. Green underneath = alive. Brown and dry = dead. Check in multiple spots up the trunk and along the oldest arms.
Step 2: The Renovation Plan – Rebuild Over 1 to 3 Years
Assuming the trunk is sound, here’s the approach recommended by Cornell Cooperative Extension and the University of Minnesota: don’t do it all in one season.
A vine that’s been stressed by years of neglect has a reduced capacity to push new growth from cut sites. If you remove 80-90% of the wood at once, you may get a weak response. Better to do it in phases.
Year 1 – Hard Prune in Late Dormancy, Select the Best Wood
Time this for late winter, well into dormancy but before bud swell – in the Upper Midwest that’s typically late February to mid-March. For a cold-climate vine (Marquette, Frontenac, Rondo, or similar), avoid pruning right after a deep freeze; give the vine a few milder days first. If you’re in Zone 5-6 with hybrid varieties, mid-February often works.
In Year 1:
- Identify the best-placed trunk or main arm – the one closest to your trellis wire and with the most sound wood.
- Cut away the obviously dead, crossing, and wildest shoots. Remove about half to two-thirds of the total wood volume.
- Leave a few well-placed canes (ideally 1-year-old canes with 8-15 plump buds each) tied loosely to the trellis as your working framework. These will carry whatever crop the vine manages this season.
- Don’t try to establish a perfect cordon or head-trained system yet. Just get the chaos under control and let the vine respond.
You’ll need good bypass loppers and a pruning saw for this work. Old, thick canes can be surprisingly tough – a dedicated pruning saw makes clean cuts far easier than forcing loppers through wood that’s too thick for them.
Year 2 – Select the Renewal Framework
By the second dormant season you should have a clearer picture of how the vine responded. Look for strong, well-positioned new shoots that grew from near the base of the trunk or from the main arms – these are your renovation wood.
In Year 2:
- Remove more of the old tangle, leaving only what you’re actively training.
- Select 1-2 vigorous canes to become your new cordon arms (if going to a bilateral cordon system) or train a head for spur-pruned systems. See our guide on cane vs. spur pruning if you’re deciding on a training system.
- Begin tying these renewal canes to the trellis in the pattern you want. A sound trellis setup makes this much easier – check that your posts and wires are still solid before you train fresh wood onto them.
- Accept a modest crop. The vine’s energy is going into rebuilding structure.
Year 3 – Finish the Retrain
By the third dormant season, most renovated vines have a workable new framework. Now you prune the same way you would a normally trained vine – removing the old, keeping fresh one-year canes in the right positions. At this point you should start to see crop returning to something close to normal, though full production may take one more season.
For more detail on reading what to keep and what to cut, the grape pruning guide covers the principles that apply here too.
Starting Over: Training a New Trunk from a Basal Shoot
If the trunk assessment revealed serious damage – deep winter cracks, crown gall at the base, or a trunk that simply didn’t green up in spring – it’s time to start fresh from the root system rather than wrestling with compromised wood.
Here’s the thing that surprises most people: the root system of a mature vine is enormous. Even a vine with a completely dead trunk can push extraordinarily vigorous shoots from the base or from buds below ground. This is one of the advantages of an established site over planting a new vine – you skip the slow root-development years entirely.
To renew from the base:
- Cut the old trunk down to 6-12 inches (15-30 cm) above ground in late winter. This removes the compromised wood and triggers strong basal shoot growth.
- In the first growing season, select one or two of the most vigorous, well-placed shoots as your new trunk candidates. Stake them vertically to the trellis.
- Rub off competing shoots below the point where you want your permanent trunk to branch – this channels growth into your selected shoot.
- By the end of the first season a vigorous shoot can reach the first wire (usually 30-36 inches / 75-90 cm high). By the end of the second season, you can begin establishing the cordon or head.
- For grafted varieties: check whether the shoot is coming from above or below the graft union. If below, it’s rootstock – you want shoots from above the union (often a visible swelling or scar near the base). For own-rooted cold-hardy varieties like Marquette or Frontenac, any basal shoot works fine.
This fresh-start approach means writing off one to two seasons of crop, but you end up with a properly trained vine instead of fighting a poorly structured old framework forever. For choosing varieties that will thrive through this process and beyond, see our cold-hardy grape varieties guide.
What to Expect During and After Renovation
Be honest with yourself about the timeline:
- Year 1 of renovation: Reduced crop or none at all – that’s expected and fine. The vine is redirecting energy to new growth and structural recovery.
- Year 2: You’ll see stronger, better-placed new shoots and possibly a light crop. Keep managing toward the structure you want.
- Year 3 and beyond: A properly renovated vine in good soil and with consistent annual pruning should return to solid production. If a vine still struggles after three years of proper management, soil, disease, or rootstock issues may be at play – not the renovation approach itself.
The first year after hard renovation pruning, expect the vine to push very vigorous new shoots – that’s the established root system asserting itself. Channel that energy deliberately toward the shoots you want, and pinch off anything growing in the wrong direction.
If your renovated vine is still struggling to produce clusters, or if you’re wondering whether the variety itself is worth keeping, that’s worth reassessing once the vine has had a proper season or two to show what it can do under good management.
Frequently Asked Questions
Can I prune a severely neglected grape vine all the way back in one season?
It’s possible but risky. Removing the vast majority of wood from an already-stressed vine in one cut can result in a very weak growth response. University of Minnesota Extension recommends a staged renovation over 1-3 seasons for most neglected vines, unless the trunk itself is dead – in which case you cut to the base and start fresh anyway.
How do I know if my old vine is dead or just dormant?
Scratch the bark with your thumbnail in late winter. Living wood is green and slightly moist underneath; dead wood is brown, dry, and often smells faintly musty. Check several spots – a vine can be dead in the top arms but still alive near the base or below the graft union.
When is the best time to start renovating a neglected grape vine?
Late winter, during full dormancy but before bud swell – typically February to early March in most of the northern US and Canada. In cold climates (Zone 4-5), wait for a stretch of milder weather after the deepest cold has passed. Pruning too early into winter injury risk, or too late when buds are already swelling, puts extra stress on the vine.
What if my neglected vine is growing from the wrong spot – can I move it?
Mature grape vines cannot be transplanted successfully – the root system is too large and established. If the location is genuinely wrong (wrong sun exposure, too close to a structure), starting a new vine in a better spot and removing the old one is the practical answer. If the spot is acceptable, renovation in place is almost always the better path than starting over with a new cutting.
My vine has lots of galls and bumpy growths at the base – is it worth renovating?
If the bumpy growths are crown gall (caused by Agrobacterium vitis, recently reclassified as Allorhizobium vitis), renovation gets complicated. Crown gall can’t be cured – the bacterium persists in the plant. Minor galling at the trunk often doesn’t prevent a vine from producing, but large galls blocking the graft union or main trunk can cause progressive decline. Cornell’s viticulture extension advises that severely galled vines are usually better replaced than renovated, especially if new galls keep appearing each season.
🍇 Don’t plant the wrong grape
Vines take years to fruit. Get the free cheat-sheet of varieties that actually survive and ripen in your zone.
By subscribing you agree to our Privacy Policy.