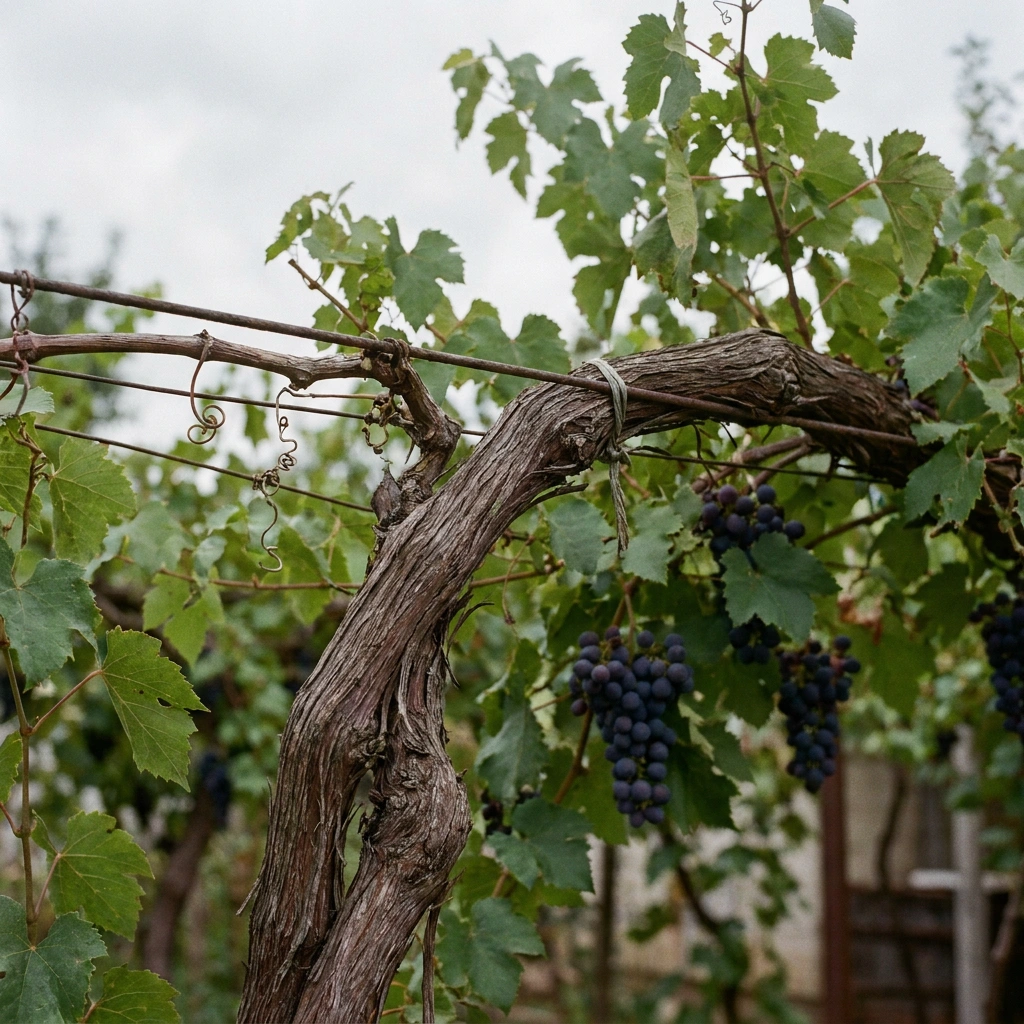
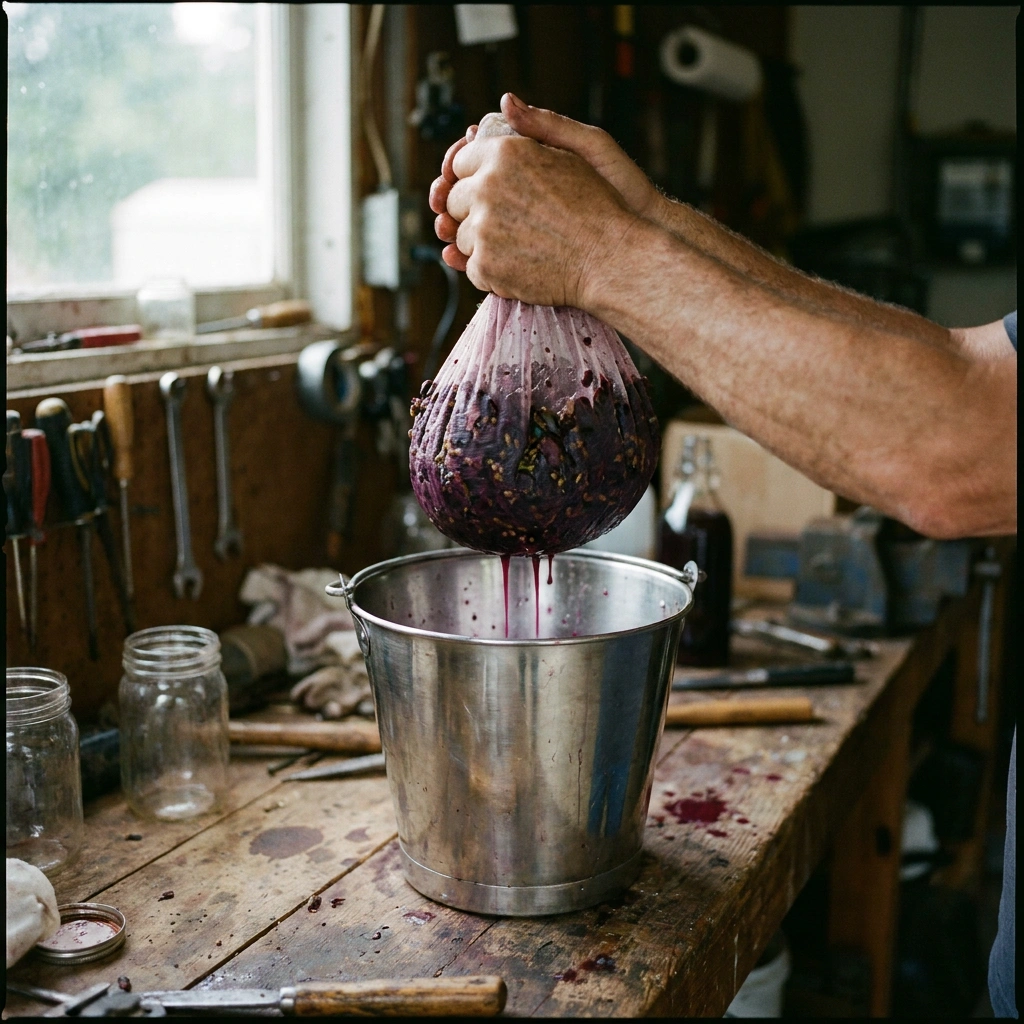
Pressing grapes means separating the juice (for whites) or new wine (for reds) from the solid grape material – the skins, seeds, and stems, collectively called pomace. For small home batches of five gallons (19 L) or less, you genuinely do not need a mechanical press. A sanitized mesh straining bag you twist and squeeze, clean hands, or a colander lined with cheesecloth will recover plenty of liquid. You press whites before fermentation and reds after – understanding that timing difference is the most important thing in this article.
Even a nylon paint-strainer bag from the hardware store will do the job. Here is exactly how to do it.
What “Pressing” Actually Means
When you crush grapes, you break the skins and release juice. But a lot of liquid remains locked in the pulp, skins, and between the seeds. Pressing applies physical force to squeeze out the rest. What you are left with after pressing – the dry, spent grape solids – is pomace (sometimes called marc). Pomace can go in the compost, feed to chickens, or be used to make grappa if you are ambitious.
Understanding pressing also helps you understand the full winemaking process and why the order of steps matters so much for the style of wine you end up with.
When to Press: Whites Before Fermentation, Reds After
This is the single most important concept in this article, and it trips up a lot of first-timers.
White Wine: Press Fresh, Then Ferment the Juice
For white wine, you crush the fresh grapes and then press them immediately, before fermentation begins. The goal is to get clean, clear juice with minimal skin contact. That juice then goes into your fermentation vessel, where yeast does its work. The result is the pale, crisp character we associate with white wines. Cold-hardy white varieties like La Crescent, Itasca, and Frontenac Gris are perfect candidates for this approach.
Red Wine: Ferment on the Skins First, Then Press
For red wine, you do the opposite. After crushing, you leave the grape must – juice, skins, seeds, and sometimes stems – together in your primary fermentation vessel. The yeast ferments the sugar into alcohol while in contact with the skins. This skin contact is what extracts the color, tannins, and body that make red wine red. Only when primary fermentation is complete (or nearly so) do you press, separating the new wine from the spent pomace.
Marquette, Frontenac, and Petite Pearl all benefit from this full-skin fermentation period. For most cold-hardy reds, a skin-contact period of 7-10 days is typical – WineMaker Magazine notes Marquette is commonly fermented for 7-8 days on the skins. Some winemakers go shorter for a lighter, fruitier style; longer maceration adds more tannin and body. You can read more about the fermentation stages in our guide to primary vs. secondary fermentation.
Free-Run vs. Press Juice: Do They Mix?
Before you apply any pressure, some juice simply drains on its own from the crushed grapes or fermented must. This is called free-run juice (or free-run wine in the case of reds). It tends to be softer, fruitier, and lower in tannins.
When you then squeeze or press the pomace, the additional liquid you extract is called press juice (or press wine). It is typically darker, more tannic, and a bit coarser – because you are mechanically rupturing more cells and extracting compounds from the skins and seeds.
Most home winemakers combine free-run and press fractions without overthinking it. If you want a softer, more refined wine, you can keep the press fraction separate and add only a portion back. At the small scale most home winemakers work at – 5 to 20 gallons (19-76 L) – blending the two is the practical choice.
For a sense of how much liquid you can expect per unit of grapes, see our breakdown on how many pounds of grapes make a bottle of wine. Pressing rather than relying on free-run alone meaningfully increases your yield.
How to Press Grapes Without a Press
You do not need to spend $200+ on a basket press for a 5-gallon batch. Here are the methods that work well, from simplest to slightly more involved.
Sanitation first, always. Whatever method you use, sanitize everything that touches the must – bags, buckets, colanders, your hands – with Star San or a potassium metabisulfite solution. One contamination point can ruin a batch.
Our pick: potassium metabisulfite powder for the sanitizing solution – the K-meta guide has the mixing ratio and how to use it safely.
Method 1: Clean Hands (Smallest Batches Only)
For a gallon (3.8 L) or two, sanitized bare hands – or food-grade rubber gloves – work fine. Scoop handfuls of pomace, squeeze firmly over your collection bucket, and discard the spent solids. It is messy and slow, but for a very small trial batch it gets the job done. The main limitation is fatigue: squeezing a full 5-gallon (19 L) batch by hand is genuinely tiring.
Method 2: Mesh Straining Bag (The Go-To Method)
This is the most practical option for small batches. You want a fine-mesh nylon brew bag or paint-strainer bag – the same type used for all-grain brewing. The 5-gallon (19 L) size works well.
- Set a sanitized bucket or collection vessel on the floor.
- Drape the bag over a second bucket or hang it with a hook, letting free-run drain into the collection vessel below.
- Ladle or pour your pomace into the bag.
- Gather the top of the bag and twist it tightly, using both hands and progressively more torque, working from the top down.
- Squeeze until liquid stops flowing freely. A second pass after letting it rest a few minutes extracts a bit more.
Our pick: Brew bag for pressing
A fine-mesh nylon straining bag works for both mash pressing and filtering. Look for the 5-gallon size with a drawstring top. Check current options on Amazon – they run $8-15 and last for many vintages with proper rinsing.
Method 3: Colander and Cheesecloth
Set a sanitized colander over your collection bucket. Line it with two or three layers of cheesecloth. Ladle pomace into the colander, let it drain, then gather the corners of the cheesecloth and squeeze. This works but cheesecloth tears easily under pressure. Use food-grade muslin if you want something more durable.
Method 4: Improvised Weight / Lever Press
For a slightly larger batch – 10-15 gallons (38-57 L) – some home winemakers build a simple lever press from a 5-gallon bucket with holes drilled in the bottom, placed inside a larger bucket, with a wooden board on top weighted with cinderblocks or a car jack. Effective, but fiddly to sanitize and set up. At this point, the upgrade to a real basket press starts to make economic sense.
When to Upgrade to a Basket Press
If you are consistently making 10 gallons (38 L) or more per vintage, a small ratchet or lever basket press pays for itself in saved time and effort within a season or two. A 1-liter to 6-liter basket press handles 10-15 lbs (4.5-7 kg) of pomace per load and applies much more even pressure than hand-squeezing.
The main benefit is consistency: you can press harder and more evenly without the arm fatigue, which means better yield and more predictable wine. The downside is cost (entry-level basket presses start around $80-100) and storage space.
If you are growing your own cold-hardy vines and harvesting even a modest 50 lbs (23 kg) of fruit – a realistic yield from 3-4 mature Marquette vines – a basket press starts to become worth the investment.
Avoiding Harsh Tannins: Don’t Grind the Seeds
The biggest mistake home winemakers make when hand-pressing is applying too much brute force trying to squeeze every last drop out. Grape seeds contain catechins and condensed tannins that are harsh and bitter when extracted under pressure – very different from the softer skin tannins you want in your wine. When you crack seeds under pressure, those harsh tannins leach into your wine.
The rule: press firmly but stop before the pomace feels grainy or you hear/feel seeds cracking. A little juice left behind is worth it to avoid a wine that tastes astringent and green. This is especially relevant with cold-hardy hybrids like Frontenac, which already have higher natural acidity and tannin than vinifera varieties. Knowing your variety’s characteristics – including skin thickness – matters here. See our guide on grape skin characteristics for more on how variety affects pressing.
Also, if you included stems in your fermentation, they add tannin during pressing. Most small-scale home winemakers destem before fermentation for this reason, though some intentionally leave a portion of stems for structure.
If you want to understand what is in the grape must before you press, the grape must guide covers it in detail. And if you are not sure whether your grapes are ripe enough to even be worth pressing, check the Brix to alcohol calculator first.
Quick-Reference: Pressing Methods at a Glance
| Method | Best batch size | Cost | Notes |
|---|---|---|---|
| Clean hands | 1-2 gal / 4-8 L | $0 | Quick, tiring; fine for trial batches |
| Mesh brew bag | 2-8 gal / 8-30 L | $8-15 | Best all-rounder; reusable, good yield |
| Colander + cheesecloth | 1-4 gal / 4-15 L | $2-8 | Works; cheesecloth tears under hard squeeze |
| Improvised lever/weight | 5-15 gal / 19-57 L | $0-20 | More effort to set up; hard to sanitize |
| Basket press (upgrade) | 10+ gal / 38+ L | $80-300+ | Consistent pressure; worth it at scale |
Frequently Asked Questions
Do I press grapes before or after fermentation?
It depends on the wine style. For white wine, press the fresh crushed grapes before fermentation so you ferment only the juice with little or no skin contact. For red wine, ferment on the skins first to extract color and tannin, then press after primary fermentation is complete.
How long should red grapes sit on the skins before pressing?
For most cold-hardy red varieties like Marquette and Frontenac, a skin-contact fermentation of 7-10 days is typical; WineMaker Magazine notes 7-8 days for Marquette. Shorter contact gives a lighter-bodied wine; longer contact extracts more tannin and color. Punch down or pump over the cap daily during this period.
What is free-run juice?
Free-run is the juice (for whites) or wine (for reds) that drains naturally from the pomace without any applied pressure. It tends to be fruitier and softer than press juice. Press juice – extracted by squeezing – is slightly more tannic and structured. Most home winemakers blend both fractions together.
Can I use a potato masher to press grapes?
A potato masher is better for the initial crush step than for pressing. It breaks the skins to release juice, but it cannot efficiently squeeze liquid from a mass of pomace the way a bag or press can. Use it to crush, then switch to a mesh bag or colander to actually press.
Will pressing too hard make my wine bitter?
Yes. Applying excessive pressure – especially with a screw press or by twisting a bag very aggressively – can crack grape seeds and extract harsh seed tannins (primarily catechins). These are distinctly bitter and different from the softer skin tannins you want. Press firmly but stop when you feel seed resistance or the pomace starts to feel grainy. Leaving a small amount of liquid behind is the right call.
🍇 Don’t plant the wrong grape
Vines take years to fruit. Get the free cheat-sheet of varieties that actually survive and ripen in your zone.
By subscribing you agree to our Privacy Policy.